公司最近需要把uat环境数据迁移到生产环境,其中有一个就是es数据迁移,在这里记录下迁移办法。
快照模式迁移
因为安装es集群的时候也安装了kibana,可以通过kibana图形界面去备份快照,之前的文章有写过(点击查看),从A集群把备份的快照数据拷贝到新的集群快照数据保存目录下,然后通过kibana把快照进行还原就行,
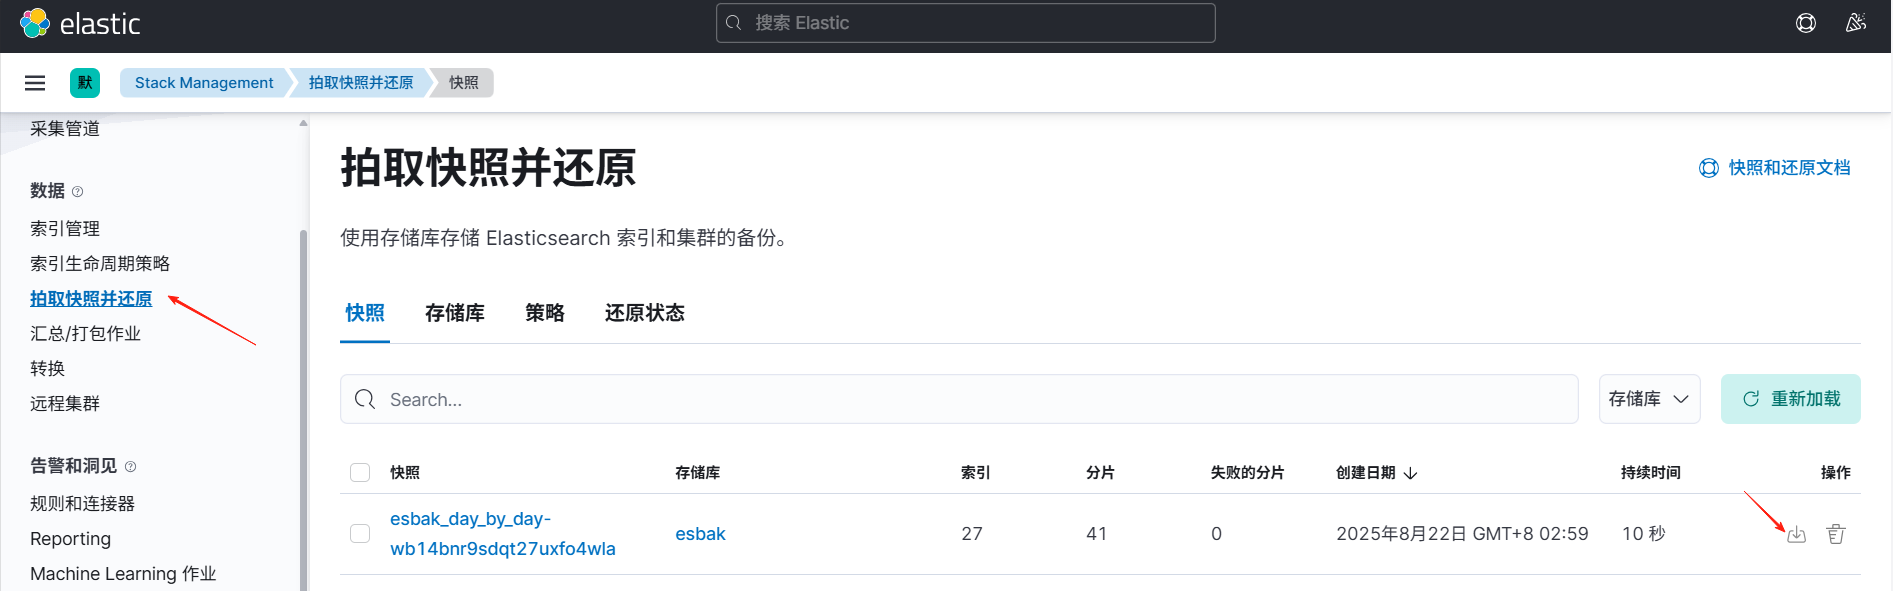
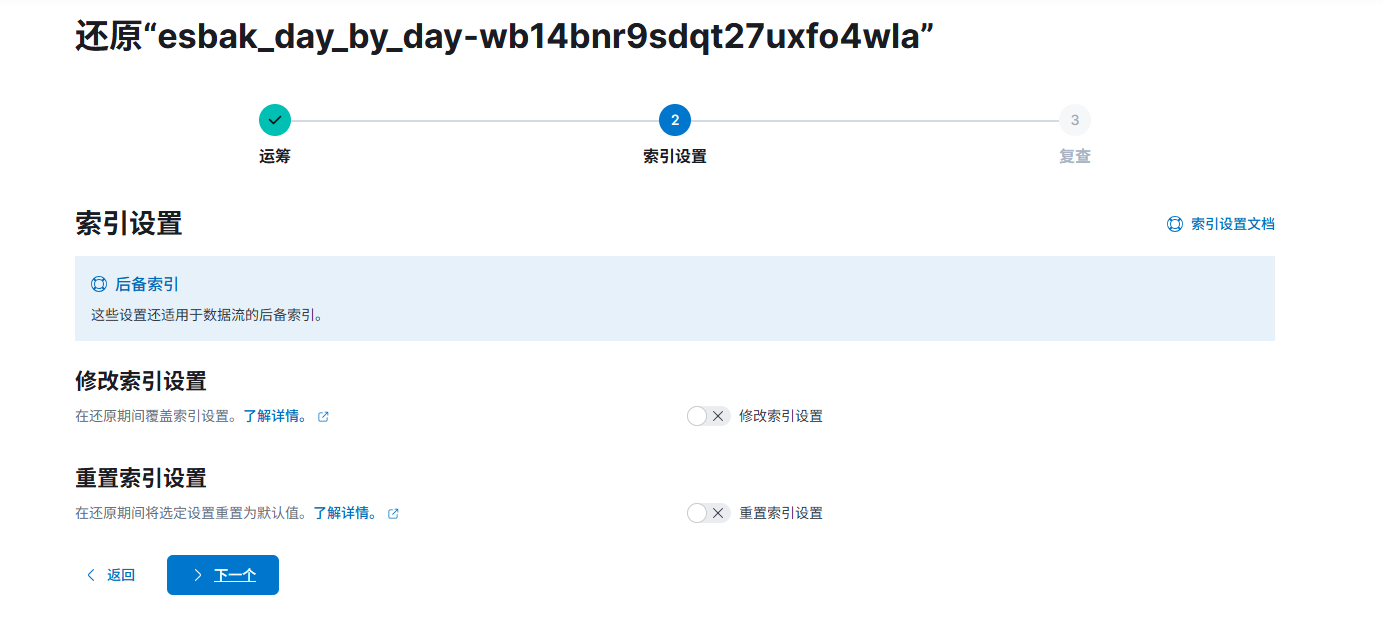
对还原进行设置:
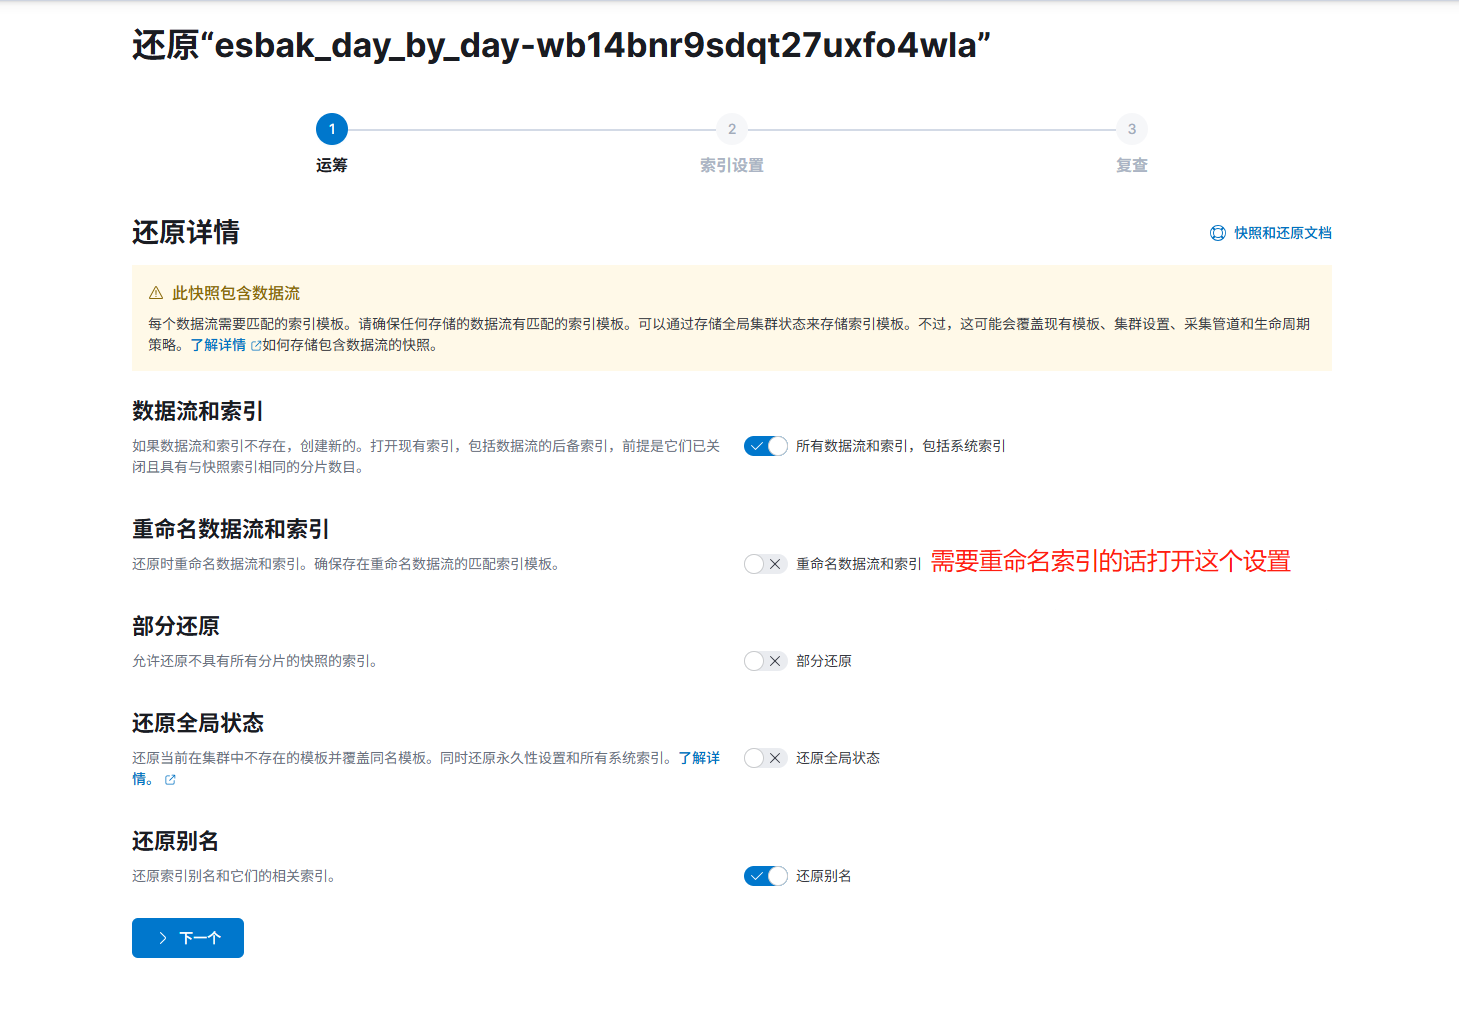
还原就行:
ElasticSearch-dump模式
安装
安装node
注:node 版本不低于 v10.0.0**
1 | wget https://nodejs.org/dist/v14.17.3/node-v14.17.3-linux-x64.tar.xz -O /opt/node-v14.17.3-linux-x64.tar.xz |
配置环境变量
1 | vim ~/.bashrc |
查看是否出现版本
1 | [root@localhost ~]# node -v |
安装 Elasticdump
1 | npm install elasticdump |
出现安装成功提示:
1 | + elasticdump@6.72.0 |
安装成功后会在当前目录生成node_modules目录,里面包含 elasticdump 主目录
bin目录下面有两个可执行文件elasticdump(单索引操作)、multielasticdump(多索引操作)
为了方便使用最好配置个环境变量
1 | vim ~/.bashrc |
使用
elasticdump 使用方法
1 | # Copy an index from production to staging with analyzer and mapping: |
multielasticdump 使用方法
1 | # backup ES indices & all their type to the es_backup folder |
常用参数:
1 | --direction dump/load 导出/导入 |
实战
源es地址:http://192.168.1.140:9200
源es索引名:source_index
目标es地址:http://192.168.1.141:9200
目标es索引名:target_index
迁移
在线迁移
直接将两个ES的数据同步
单索引:
1 | elasticdump \ |
离线迁移
单索引:
将源es索引数据导出为json文件,然后再导入目标es
1 | # 导出 |
全索引:
1 | # 导出 |
备份
单索引:
将es索引备份成gz文件,减少储存压力:
1 | elasticdump \ |
ES命令
查看集群健康:
1 | curl -X GET "http://localhost:9200/_cat/health?v" |

查看集群节点:
1 | curl -X GET "http://localhost:9200/_cat/nodes?v" |

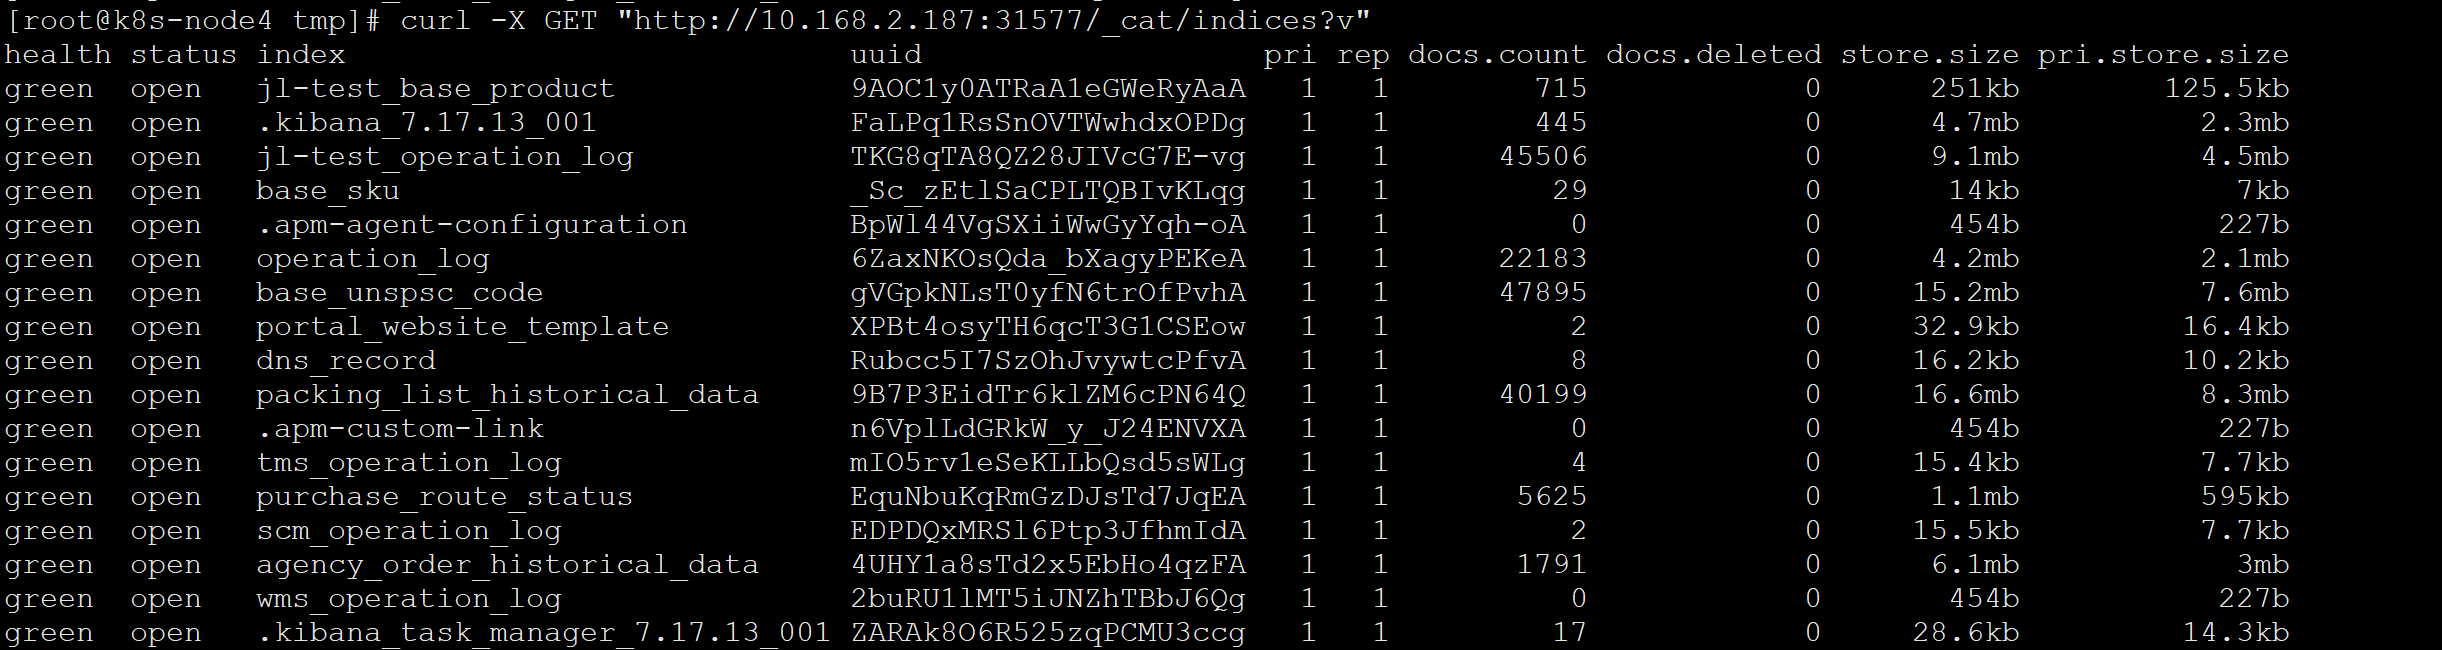
列出所有索引:
1 | curl -X GET "http://localhost:9200/_cat/indices?v" |